
Hello wandering eyes, it's been a bit since I've posted. Today though, I am sharing a recent experiment I did over the past couple months in my free time.
I am finally getting settled in LA, and I decided it's been way too long since I've built anything. Currently, I am lacking any real space to build a stage and animate, but I am going to try to figure that out here soon. Besides that little barrier, let me introduce my initial sketch I had for this character.

I guess the general idea, is that he is some sword of squire or page. Whenever I have the opportunity to build a small stage and animate, I was hoping to emulate a few fun RPG-estc animations. On top of all of that, I wanted to try a new process for building the armature.


Instead of coiling the aluminum wire, like I have in all my previous puppets, I am actually coiling a smaller wire around strands of wire that are bunched together. As you can see here, I have 4 bent wire here that I will adhesive together for the spine before I wrapped the wire around it. And as you can see below, I have the final product laid out.


Very tedious stuff, but I anticipate that this will be stronger than my previous approach. The puppets I build have a certain lifespan. Whenever you bend aluminum, it already weakens. By the old coiling method I used, I was already weakening my armature before I used it. Hopefully, by bunching the wire together this way, it will improve the lifespan of the puppet. Below, I epoxied the end of the exposed wire to create a 'base' for the head.


Now I am pretty much doing the same thing with the wire for all of the legs and arms. Usually, I try to use long strands and bend those, as opposed to cutting a bunch of strands. This way, I am also creating more stability. Over and under, I wrapped the "torso" with the soon to be legs. I then epoxied that ball of strands.


Rinse and repeat the same concept for the arms
as well. And now I will use a smaller gauge wire for the hands.


Now that I have the basic idea for the armature all composited, with tie-down feet, I will now be building out the shape with more strands of wire, aluminum foil, and sculpi! Above is a snapshot of my workstation before I dig into the task ahead.


As you can see in the previous images, I used the wire to shape the armor for the swordsman, and then bulked out the hollow part with aluminum foil (so the puppet doesn't weigh so much).

Since moving out here, I haven't been able to really use my sculpi in a fashionable time frame. Because of this, I had some sculpi that had dried out and it was very brittle. In the above image, you can see me rejuvenating it back to life with some baby oil! Cheap and effective!

This part took some time because the nature of the beast when working with sculpi. I prepared a rough sculpt to get ready for baking.

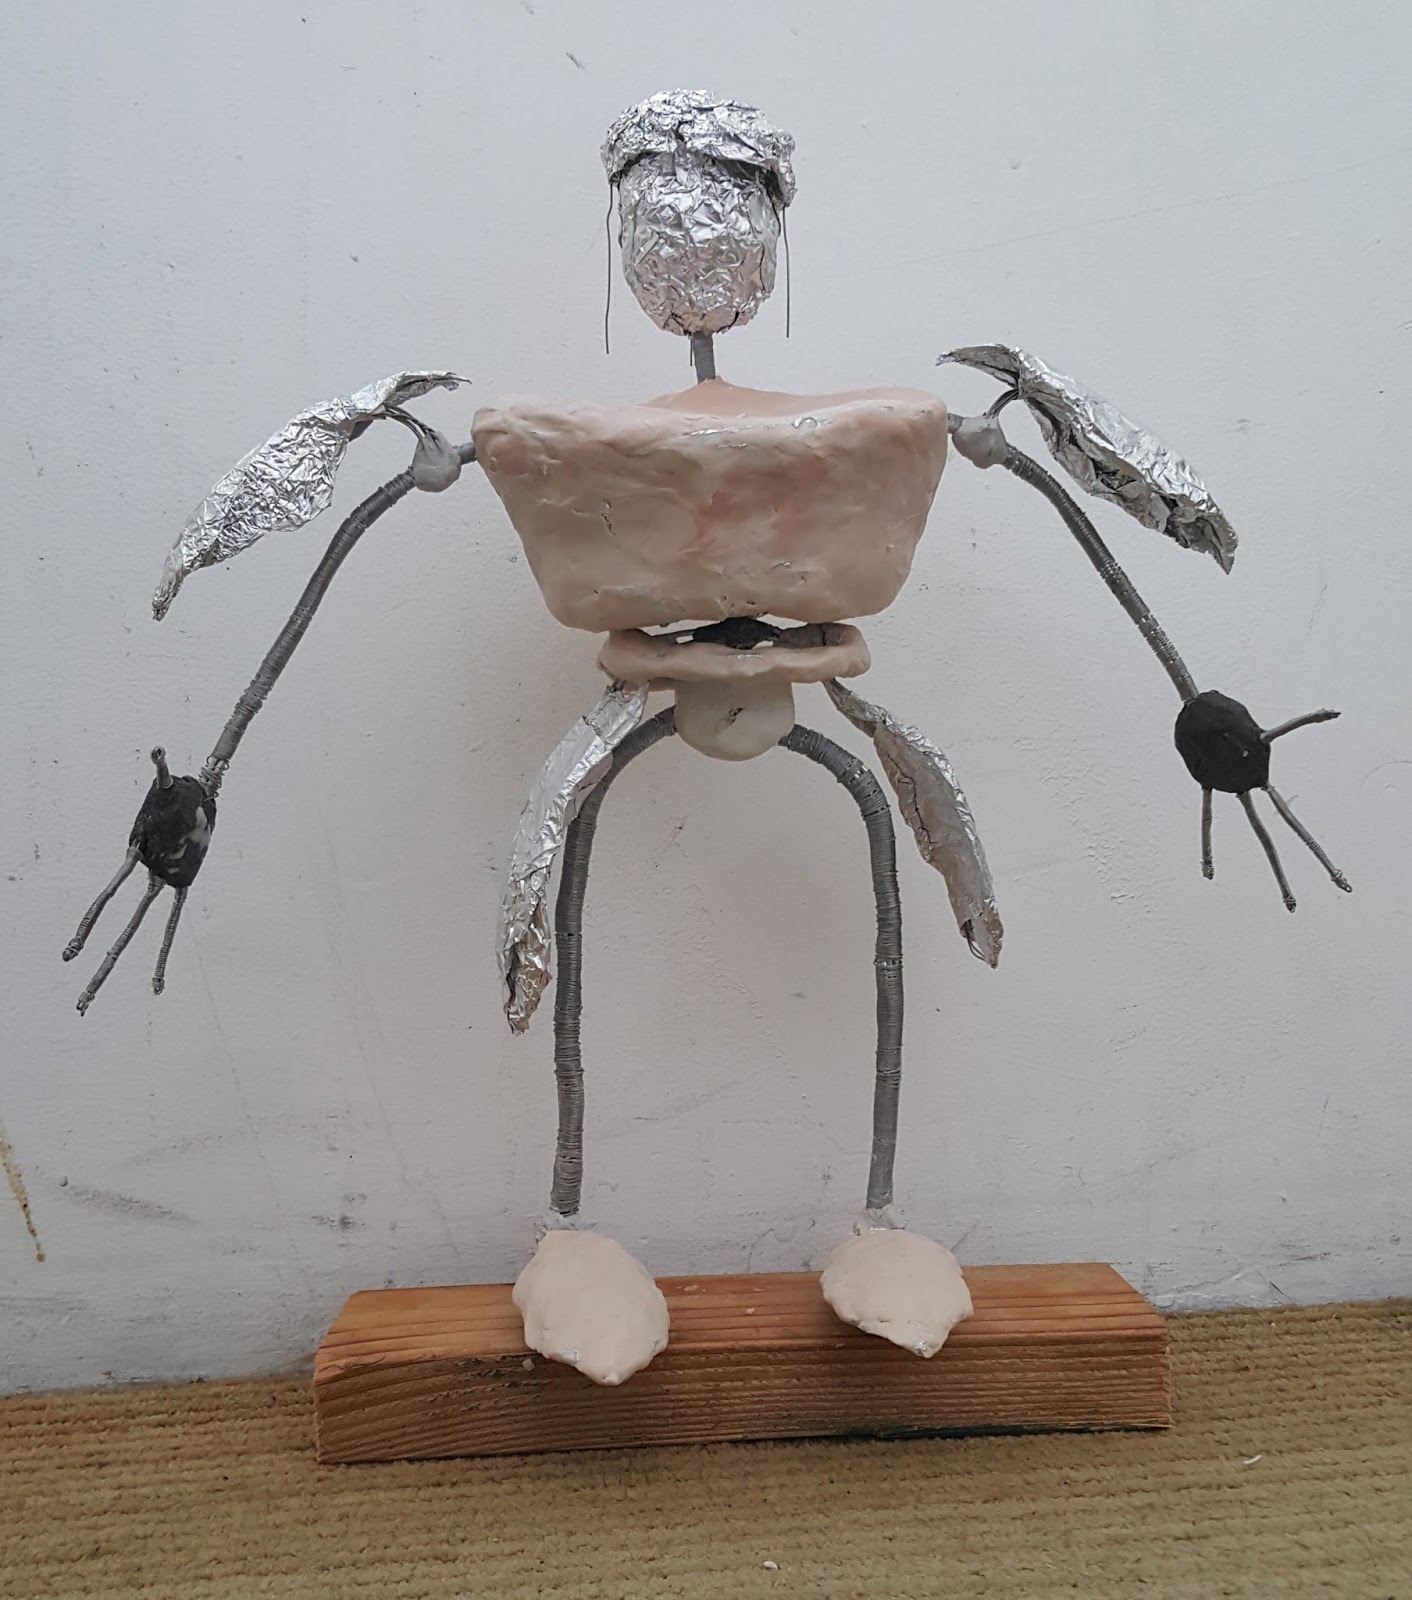


Getting more detail work in...

Below I am about the bake him!

Getting a first coat of paint down after the successful bake.


Adding some detail with black acrylic... And below I have added a bit of cloth on the wire that is extended by his helm. I was hoping to get a little overlapping action by it!

And voilà! After some time, I have my final product. I also compiled a sword out of Styrofoam that my roommate had lying around. It seems like the bending aspect of the puppet is working just how I intended so far, as well! Hopefully sooner than later, I can work on some animation tests with this guy. I feel like I learned a lot and even though I wish I performed certain tasks differently, I think I will be able to get a few nice simple animations out of this guy!
Thanks for tuning in! :)
Thanks for tuning in! :)


